Painting and glossing a door might appear to be a daunting task, but with the know-how, it is actually rather simple. Whilst you do need to take some special precautions when working with gloss, it is not as big a job as you probably first thought.
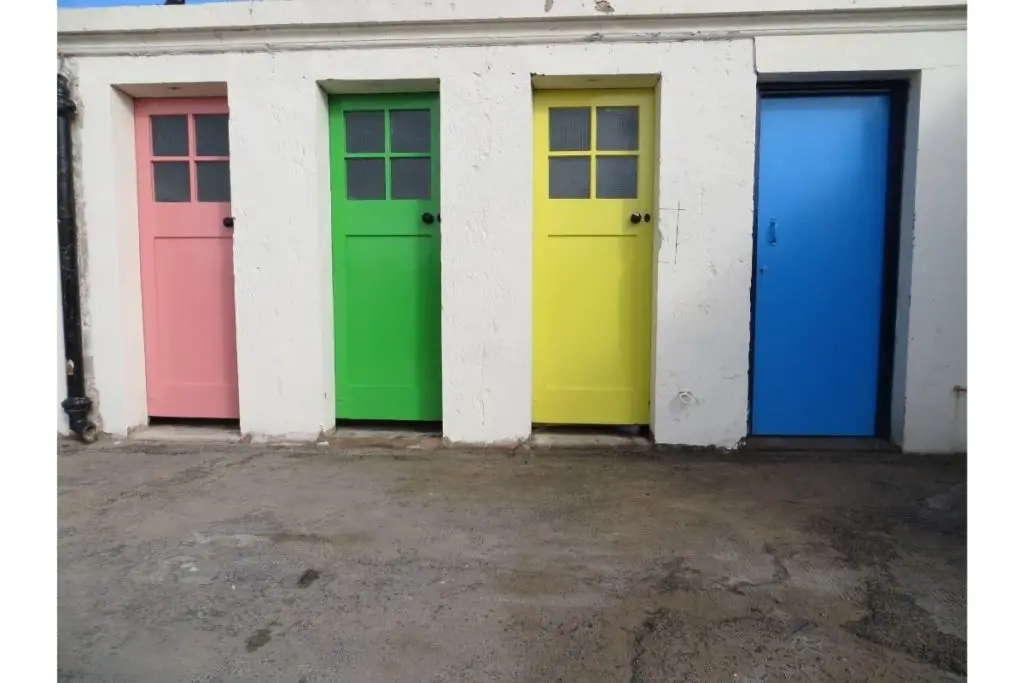
It is a common way to spruce up the interior (and exterior) for a smart and durable finish. Also, if you think you can only work with the colour white, then you are wrong. Gloss comes in many pre-mixed shades available to work with.
If you are wondering how to paint and gloss a door, then you have come to the right place. This simple step-by-step guide will help you to gloss a door – from removing the original paint, to the finishing touches. Let us get to it!
Preparation Is Key
When it comes to gloss, you will want to take the approach of painting it well the first time around. Gloss can be a tricky paint to work with, especially because you will be applying a nice even coat, rather than layers.
Before we begin, you will need to make sure that you have everything you need prepared – though before we can start applying the gloss, there are several things to do first.
Firstly, check the condition of the door. If it has old paint on the wood, it needs to be removed before you can get the gloss on. Whilst it will make the job longer, it will give a better finish. When it comes to a door, you want the results to look great, not just okay.
If the door is brand-new and there is no sign of any old paint or gloss, then it is still important to sand the door. This is to help the gloss adhere to the wood.
Secondly, you will want to keep the area dust-free as well as remove any other debris and pet hairs. Once it gets stuck into the gloss mixture it can be difficult to remove without spoiling the finish. This means it is always best to have a vacuum to hand!
Is It Best To Sand A Door Before Glossing?
The sanding process is probably one of the most important. Whether the door already has paint on it, or it is completely bare and brand-new, the door will need to be sanded.
Fortunately, it is not a long job and can be done within an hour. The purpose of the sanding is to allow paint to adhere to the wood, and to help it to not peel off. So basically, it allows the paint to last for a lot longer on the door, compared to if you applied the paint without sanding the wood first.
Seeing as a door is used daily, and it gets slammed, pulled and pushed, it is best to make the paint as durable as possible to avoid chipping.
Do I Apply A Primer, An Undercoat, Or None?
We know the list seems to be getting longer before you even get to the glossing stage, but it is all worth it, we promise. The thing is, if you want the top results, it is always best not to cut any corners. If you do, this could cause more work later on down the line.
Giving the door an undercoat or layer of primer is a good way to practice moving the brush along the door. It also creates a much better and smoother surface for the gloss to hold on to.
Whether you need a primer or an undercoat all depends on the wood and the paint. For example, a primer is best used on bare wood. An undercoat is good to use with a traditional non-drip gloss.
In this article we are going to use an undercoat, but all the same principles apply.
Step-By-Step Guide On How To Gloss A Door
Before you can get the job done, you will need to know what tools and materials are required for the job. These are:
Plastic dust sheets
Vacuum cleaner
Sanding block
Lint-free cloth or rag
Painter’s tape
12 mm, 25 mm, 35 mm, and 50 mm paint brushes
Undercoat or primer
400-grade wet and dry paper
Gloss paint
Step 1 – Preparing The Area
Before you begin, you will need to prepare the area for work. Lay down plastic disposable dust sheets where you are working, and make sure they are completely lint and dust free.
You can use a different material, but make sure there are no bits of debris that could accidentally become stuck into the gloss paint.
Step 2 – Removing Items
Remove anything on the door that you are not going to gloss, but if you cannot remove them, then do not worry about covering them at this stage.
Step 3 – Sanding The Wood
If you are going to sand a large area, then it is always best to use a sand block rather than a sheet. You will be able to get the job done much quicker without damaging the skin and nails on your hands.
Whilst wearing a mask, sand in the direction of the grain, and apply a gentle pressure to key into the surface, rather than take a full layer of wood off. However, if it has wood stain on, you will want to remove that layer to reveal raw wood underneath.
If the door has a few layers of paint on it, you may have to sand with a coarser grade of paper to remove it all and to get rid of a number of imperfections.
Once you have done the initial sanding, finish with fine sanding paper to create a smooth appearance that does not show any scratches caused from the stronger sanding paper.
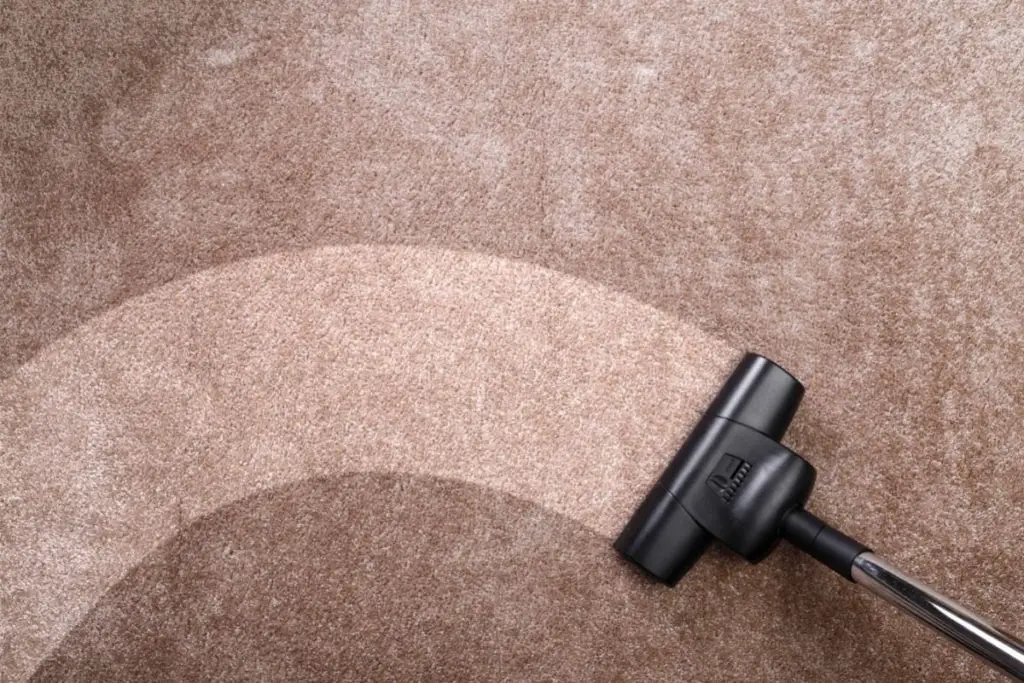
Step 4 – Vacuum The Area
Once you have finished sanding the door, rub it down with a lint-free cloth to remove excess dust. Once you are satisfied you have removed it all, vacuum all the dust away. You need to make sure that the space is completely dust free and clean to proceed.
Step 5 – Sealing The Edges
Now is the time to start covering any of the areas that you do not wish to be glossed. This could be a glass panel, hinges, or even a door knob that you could not remove.
This is an important step that needs to be done correctly, otherwise you could end up with gaps where the tape was, and the gloss could not get to because of it.
Step 6 – Re-wipe Down
Whilst this might seem obsessive, wipe down the surfaces again, including the areas you will not be glossing. Whilst it may look clean to the naked eye, your lint-free cloth might say otherwise.
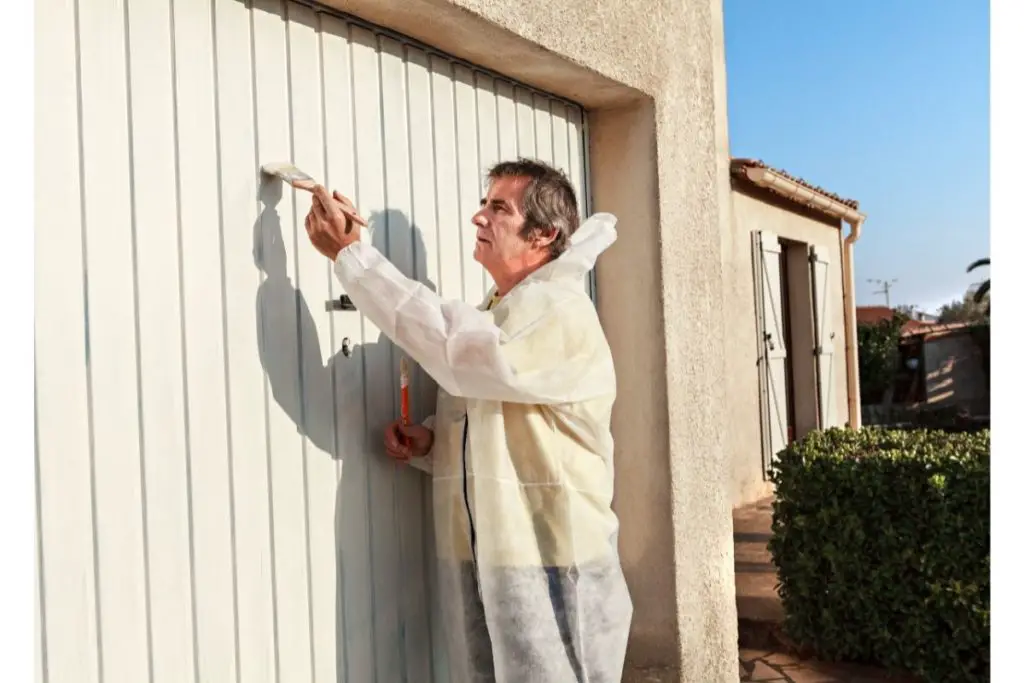
Step 7 – Applying The Undercoat
Even though it is tempting to use any old brush for the job, for this type of painting, always buy the best quality brushes that you can afford. For this kind of job, go for brushes sized around 12 mm, 25 mm, 35 mm and 50 mm. You do not need to buy all the sizes, just what will work best for you and the project.
Open the tin of undercoat and stir. Because it has been on the shelf (or sitting in your garage) for a few months, the mixture will have settled.
Start painting from the middle of the door and work your way outwards. Make sure you do not apply a thick layer, and go in with thin and even strokes.
Once you have painted the full door of the undercoat, allow it to dry completely. It may take around 2 to 3 hours, or even longer. If in doubt, always check the tin.
Once it is fully dry, go in with a second coat just to make sure any dark wood is completely covered. This will also create a really good base for applying the gloss.
Step 8 – Applying Wet And Dry Paper
Once you have applied the second undercoat, leave it to dry for around 24 hours to make sure it is completely ready for the next step.
With a 400-grade wet and dry paper used dry, wrap it around the sanding block, so you can get a good grip. Rub it over the door to remove any imperfections. This helps to get the surface ready for the gloss.
Once complete, rub over the entire area with a lint-free cloth to remove any excess dust that may have been created. Vacuuming may be necessary too.
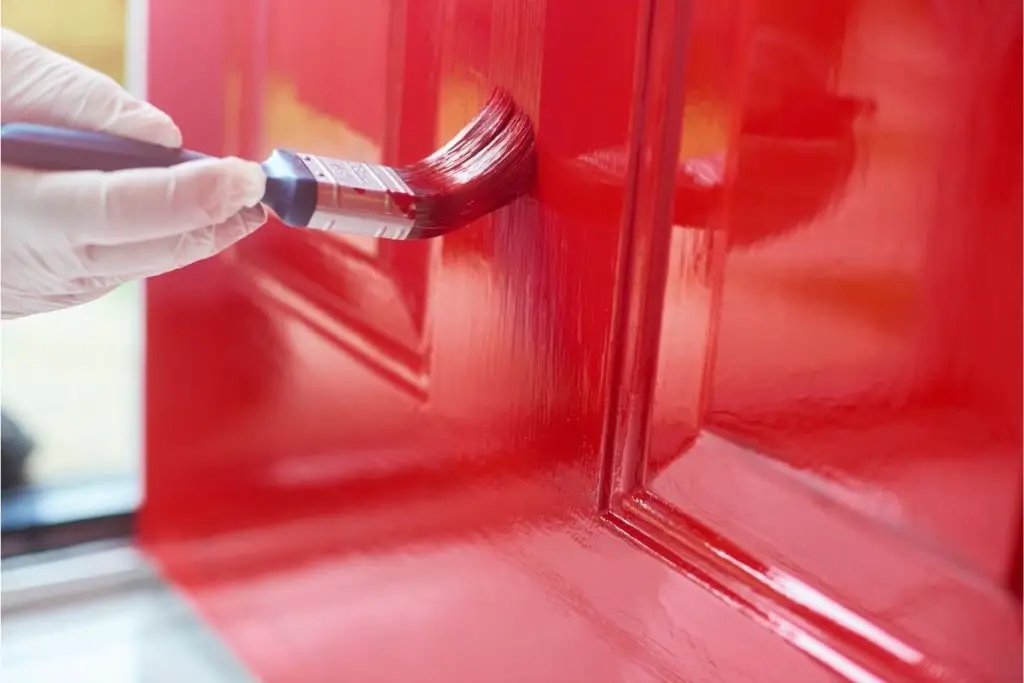
Step 9 – Applying The Gloss
Just like with the undercoat, stir the gloss paint just in case the mixture has settled. Dip the paint brush into the tin and remove any excess – you do not want to overload the paint brush.
Start from the middle of the door and work your way outwards. As you place the glossed paint brush onto the surface, allow the gloss to flow out as you stroke the brush along the wood.
Try to avoid over brushing and remember that gloss is different to regular paint so should not be applied the exact same way. If you do, it might leave marks.
If you find that the gloss runs, brush over the drips as quickly as possible to remove them, and to not ruin the paint.
Step 10 – The Finishing Touches
The hard part is over! Once finished, let the gloss harden for around 24 hours.
Make sure to keep the door open throughout this process, but especially whilst the gloss is drying. This could ruin all the hard work and could cause the paint to stick.
Once completely dry, remove all the painter’s tape and attach any item you removed from the door. You have completed the job!
Tips And Tricks
Knowing how to apply the gloss well is a good way to achieve the best results, especially because gloss can be difficult to work with if it is not something you usually use.
Aim to use good quality brushes. They might cost a little more, but you want to have the best tools for the job. A few different sizes such as 12 mm, 25 mm, 35 mm and 50 mm long-bristle synthetic brushes should do the job well.
When you dip the brush into the paint, try not to overload the bristles. Once dipped in, tap the side of the brush to remove excess. If you do not want the paint to run over the sides of the paint tin, then make sure you focus on removing the excess inside, rather than over the edges.
As you gloss, the biggest thing you want to avoid is painting too slowly. If you find that a section of gloss is drying before you have finished the area, then this could create a horrible build-up that would cause the paint to run.
A good approach to take is to work methodically, at a really good pace (not too fast and not too slow), as well as very neatly. You cannot throw the gloss at the wood and expect it to come out looking wonderful. It needs precision.
Cleaning Brushes That Have Used Gloss Paint
A lot of people avoid using gloss paint because it ruins their brushes, but that is only because they do not know how to clean them properly. So to avoid having to throw them away, read on.
Firstly, always check the tin first in case there is advice on how to clean the gloss paint off the brushes and any other surfaces. Normally, you would wash water-based paint in water, but gloss can be a little different.
Because gloss is more likely to be a solvent paint, you will need to use a cleaner. To find out if it is, there may be a hazardous chemicals sign on the tin. It just means that the product is a solvent, but always protect your own skin anyway.
If you are using a solvent paint and need it for several hours, there is a way to keep it usable without having to clean it or use extra brushes. Leaving it in a jar filled with water to the top of the bristles overnight will stop it from drying out – just remember to shake the water out before you use the brush again.
Final Words
Learning how to gloss a door is a great skill to have. Whilst at first it might seem like a daunting job, it is pretty straightforward to do.
If you spend the time to prepare the wood and the base, the final finish of the glossed door will be even better. Just remember to take it slow and to not treat gloss the same as applying paint.
I’m Ida Oliveira, and now I want to impart my knowledge of all things interior design onto you. If you’re going through the same process of designing your house, I want to help.
So, I hope that you’ll find everything you need to know on my website. If I make the process even a little easier and more fun for you, Alexander and Pearl will have done its job.

![ow To Design A Room Like An Interior Designer [Step By Step]](https://alexanderandpearl.co.uk/wp-content/uploads/2022/02/How-Much-Does-A-Pop-Up-Camper-Weigh-33.jpg "How To Design A Room Like An Interior Designer [Step By Step]")


")

")

