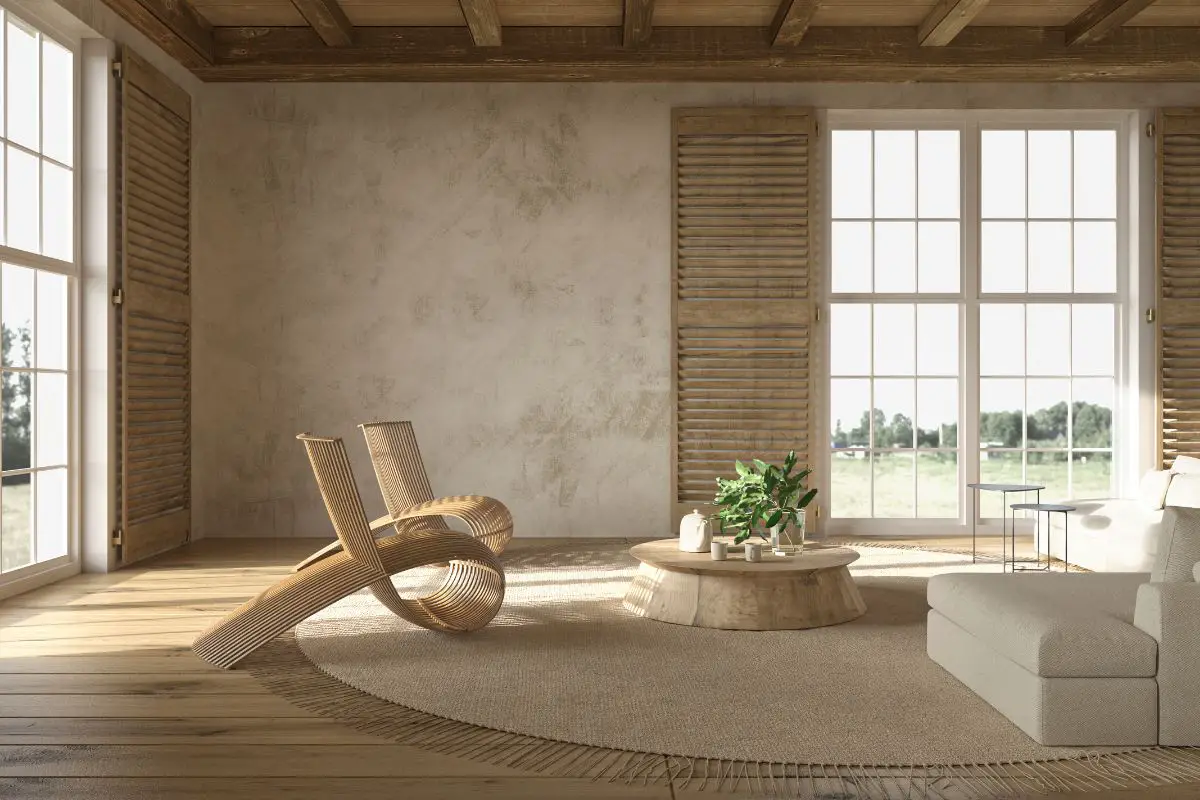
If you are in the middle of transforming your home and want to create a modern or rustic farmhouse, you might want to add farmhouse-style trims to your home. You would be surprised at how something as simple as a trim can bring a whole room together.
The process of a home transformation will start in different ways depending on what your priorities are. We have found that the best thing you can start with is replacing the baseboards, and doors to look a little more rustic.
Going for a craftsman-style look is likely a good fit for Farmhouse-style trim in your home.
If you are thinking of doing something similar in your home, this article is going to be perfect for you.
In this article, we are going to go over everything you need to know about what a Farmhouse-style trim is and how to apply it to windows and doors.
So, without further ado, let’s dive right in and get started!
What Defines A Farmhouse Style Trim?
For those of you that are not super familiar with what exactly Farmhouse style trims are, in this section, we are going to quickly go over the basic defining traits. Farmhouse baseboard trims can come in a ton of different fun colors and styles.
But a basic defining trait of this kind of trim is the fact that it is a trim that looks like something out of a craftsman’s home.
If you want to add a rustic trim that gives off a craftsman look to your home, then you might really like Farmhouse-style trims. They can certainly add some flair and bring together a rustic-styled house.
Installing Farmhouse Style Trim For The Baseboard
Changing up the trim of your home can not only give it a fresh new look, but it can also bring a room together. If you are starting with adding Farmhouse-style trim to your baseboard, there is one thing that you should keep in mind.
The baseboard height must be higher than your window trim or door trim widths by about fifty percent. However, you need to ensure that it is not greater by one hundred percent.
As long as you stick with this rule, you should end up with a fantastic-looking baseboard that is aesthetically pleasing to the eye.
If the trim of your door casing is about three and a half inches, for example, your baseboards should be a minimum of five and a quarter inches in size. Sticking to measurements like this should make the baseboard look substantial and balanced.
Trust us, you do not want your baseboards to be too large or too small. Strive for balance in all things and you will have a wonderfully aesthetic home.
Getting the right baseboard materials is essential for any good project. You might want to take into account the existing baseboards in your home.
For example, in our home, the moldings had edges that look a little square with flat surfaces. As such, we decided to buy baseboards that would complement and suit this look.
If your trim happens to have a lot of detail and shapes, then you should get boards with a base cap. This should be readily available on some baseboards that you can buy at the store.
However, you can also purchase base caps separately. This way, you can simply add them to the top of your boards when you are ready.
How To Install Farmhouse-Style Window Trim
When you are ready to add Farmhouse-style window trim to your home, there are a few steps that you absolutely need to follow in order to get the process right.
Below are the six main steps that you need to keep in mind when you are installing your window trim.
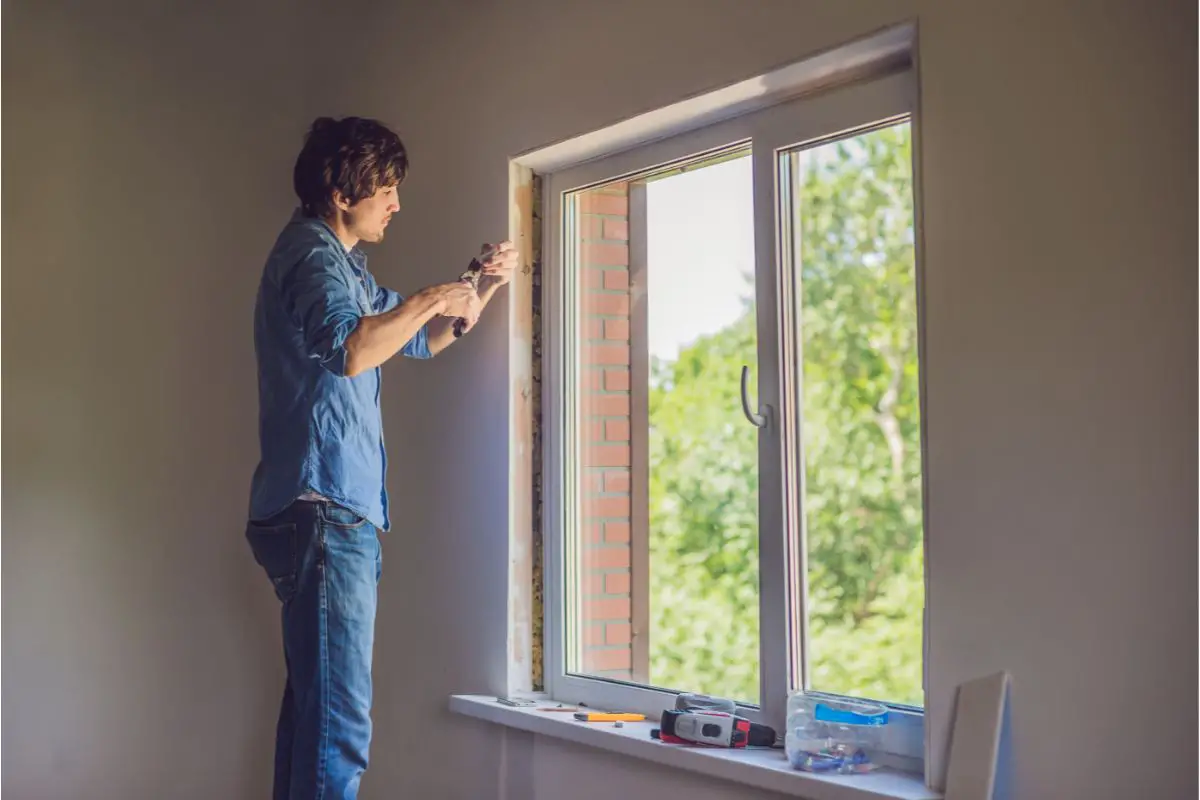
Step 1 – Get Rid Of The Old Trim
Obviously, you need to kick-start your project by removing any trim that already exists on the edges of your windows. So, get rid of the existing trim off your windows as well as that you should also remove the overhead trim, sill, and the trim board under sill.
You can do this using a utility knife. To start, you should score the existing caulking lines. This is an essential step that you need to do properly.
Don’t be scared! It is simply important as it will reduce the risk of ripping off big sections of wallpaper or damaging the drywall. Simply scoring the caulking lines properly, will save you tons of money for repairs should the drywall rip.
Step 2 – Sand Off The Caulking Residue
When you are satisfied that the trim and nails have been removed from your window frame, you can start removing the caulking residue. You can do this by using sandpaper and a chisel.
Chip off any chunks and then sand down the wood until the surface is nice and smooth. The trim that you have will cover only half of the old frame.
So it is even more essential for you to make sure that the wall is super smooth for touch-ups later down the road.
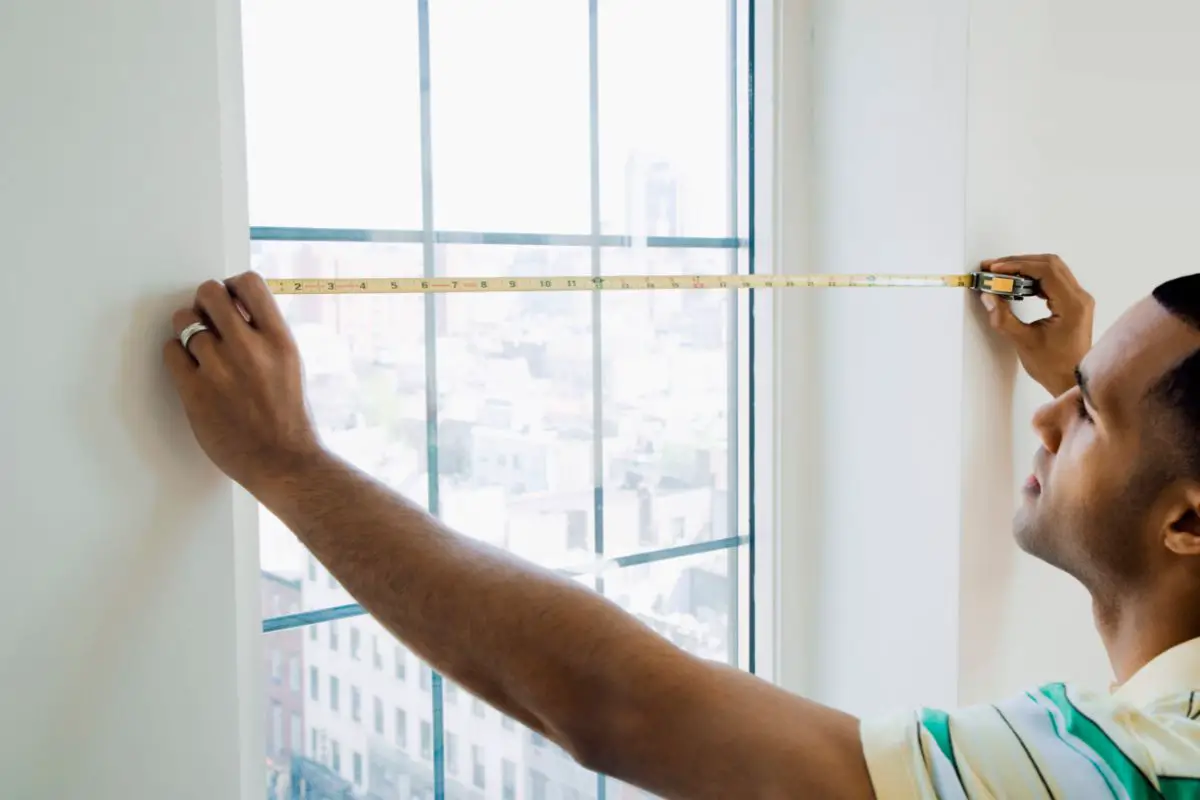
Step 3 – Measure The Width Of Your Vertical Trim
Now that you have removed the old trim and prepped the surface for application, the next step is to measure the vertical trim.
We recommend that you use 1 x 4 primed fingerjoints for the sides of your trim. For the top and bottom of your Farmhouse-style trim, we suggest using the same-sized trim pieces.
The boards you will be using will usually measure about three and a half inches in width.
Once you have done that, you should take care to measure the frame board of your window to see how thick it is.
For those of you that are not sure, the window frame is the outer section around the window that is flush with the drywall. Typically, the thickness will be about three-quarters of an inch thick.
Once you have the measurement, make a mark at the center of this thickness. This should be somewhere in the range of three-eighths.
From this point, you need to measure an additional three and a half inches. Release this process for each of the four sides of your window.
Step 4 – Cut Your Trim
For this process, you are going to need a spirit level or something to help you make a perfectly straight line on the wall.
This line should be a minimum of three inches under the window frame on each side of the window frame. Make sure that the distance of these lines is the length where you should make your first cut on the horizontal trim board.
Once it has been cut to size, install it on the wall, just make sure that it protrudes over the angled window frame at the bottom of about a half inch. The next board you install needs to be the sill.
This board will be located on top of the first trim board. We recommend that you use a 1 x 3 primed fingerjoints board that is flat against the wall for this part of the trim.
On top of that, we recommend that you cut this board to be a little bigger so that it overhangs the board under it by about a half inch.
It should overhang on both sides of the frame by the same distance on each side. As a result, you should cut this board about one inch longer than the previous one.
Once you are ready, simply nail this board down into the board under it. Make sure that it is properly secure before you move on to step five.
Step 5 – Install Your Vertical Base Boards
With that, you are ready to install the vertical boards. The lines should already be in place to make installation easier. At the very least, this should make positioning the boards easier.
But, with these measurements, you will also know how long your vertical boards need to be. Remember that they will need to overhang the window frame by about half of its thickness.
On top of that, they also need to be longer than the height of the halfway point of the upper frame board.
Make sure that you are measuring from the top of the sill on both sides. Take care as the measurements are not guaranteed to be identical on both sides.
When you have cut your boards to the right size, fix them in place using a few nails. Apply the nails to the inner edge of The boards. This should keep everything in place against the drywall and hold everything together really well.
Step 6 – Add Your Top Boards
The next step is to get your horizontal board and secure it in place. This board will be placed on top of the two boards we have already secured.
Take care that you measure the distance between the outside edge of the boards you have already installed. Add one inch to this so that the board overhangs by a half inch on either side of the trim.
Just like with the vertical boards, you need to nail the boom edge of the board to the frame using just a few nails. For extra measure, you should use a nail on the top of the board into the drywall at an opposite angle.
With that, you are ready to install the final board to your trim. We recommend using 1 x 2 primed fingerjoint boards for this final piece. As with most of the boards for your window trim.
You need to make sure that this board is cut about an inch longer than the board under it.
This allows for a half-inch overhang on each side of the frame. Using a few nails, secure the board in place so that it is secure and properly centered in the frame of your new Farmhouse-style trim.
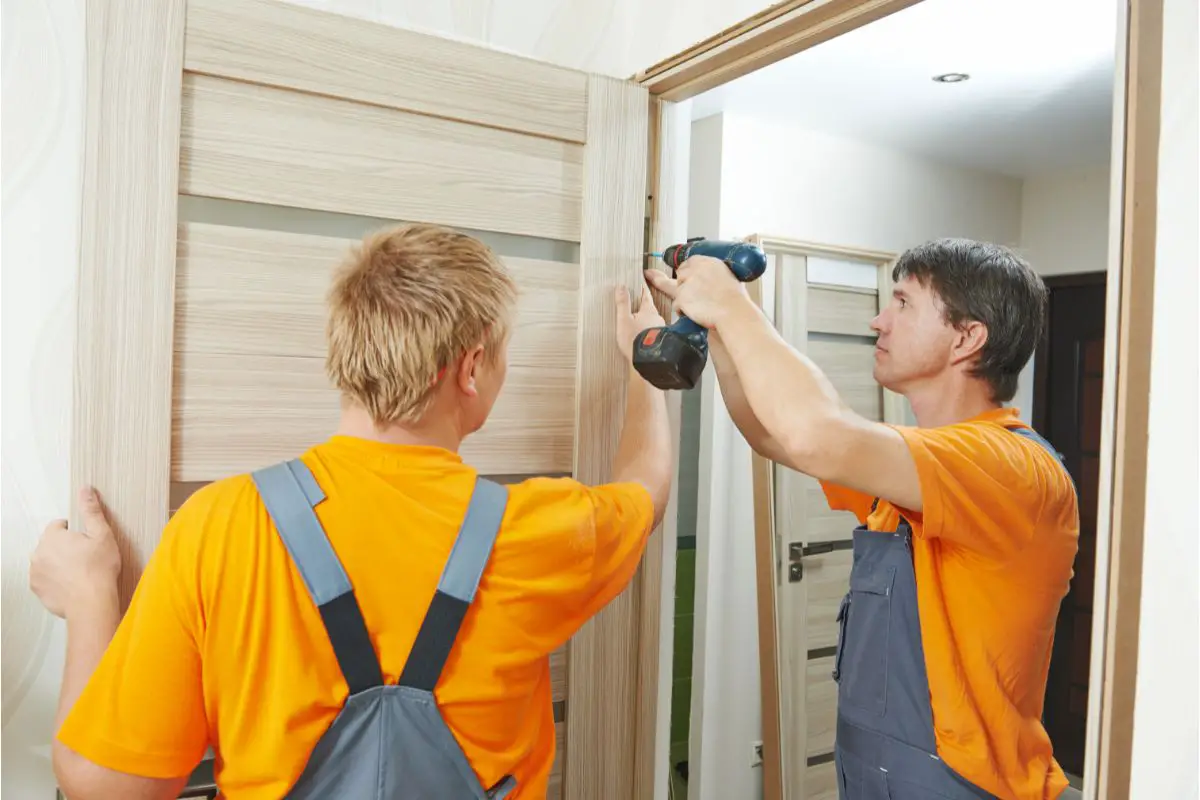
How To Install Farmhouse Style Door Trim
Yay! You have made a gorgeous Farmhouse-style trim for your windows. Now all you need is a perfect matching trim for your doors.
It is so easy to do. In fact, there are only three steps that you need to follow in order to do this. Check them out below to learn more!
Step 1 – Remove The Door Casings On Both Sides And The Top Of the Door
Just like with your window trim, you need to score the caulking lines with a knife before you take off the casings. This will protect your walls from damage as you remove them.
With the trim and nails removed, from the frame of your door, take care to scrape off any caulking residue off. You can use a chisel and sandpaper to do this. Just make sure that the wall is smooth all over before you move on to the next step.
Step 2 – Cut Back Existing Baseboards
You can keep the headboards you already have. However, if you want to do this, you may need to cut them back with a Dremel. This is so that there is enough distance between it and the new trim you are installing.
The reason we suggest using a Dremel is because it is beginner-friendly and easy to use. Thus, you should have no issue with getting the job done
Step 3 – Take Your Measurements And Make Your Cuts
Measure the vertical trim sections you are using. We recommend that you go for 1 x 4 primed fingerjoints for each side of your form.
These boards should be about three and a half inches wide. Next, you should measure the door frame to get an idea of the thickness of your board.
You will want to go over three and a half inches for these boards to get the overhang that you need. Install these boards using a few nails, make sure the nails are discreetly used in the inner edges of your trim.
Cut your last board down to size, making sure that there is a half-inch allowance for overhang on either side of the board. Nail it to the board on top. Take care that it is well-centered.
Final Thoughts
We hope that you have enjoyed reading this article and learning about how to add a Farmhouse style trim to your home. You might have been scared to do this if you are not really into DIY.
But, it is so much easier to do than you think. As long as you can measure and cut boards, you should not have too much trouble with making delightful Farmhouse-style trims for your home.
I’m Ida Oliveira, and now I want to impart my knowledge of all things interior design onto you. If you’re going through the same process of designing your house, I want to help.
So, I hope that you’ll find everything you need to know on my website. If I make the process even a little easier and more fun for you, Alexander and Pearl will have done its job.

![ow To Design A Room Like An Interior Designer [Step By Step]](https://alexanderandpearl.co.uk/wp-content/uploads/2022/02/How-Much-Does-A-Pop-Up-Camper-Weigh-33.jpg "How To Design A Room Like An Interior Designer [Step By Step]")


