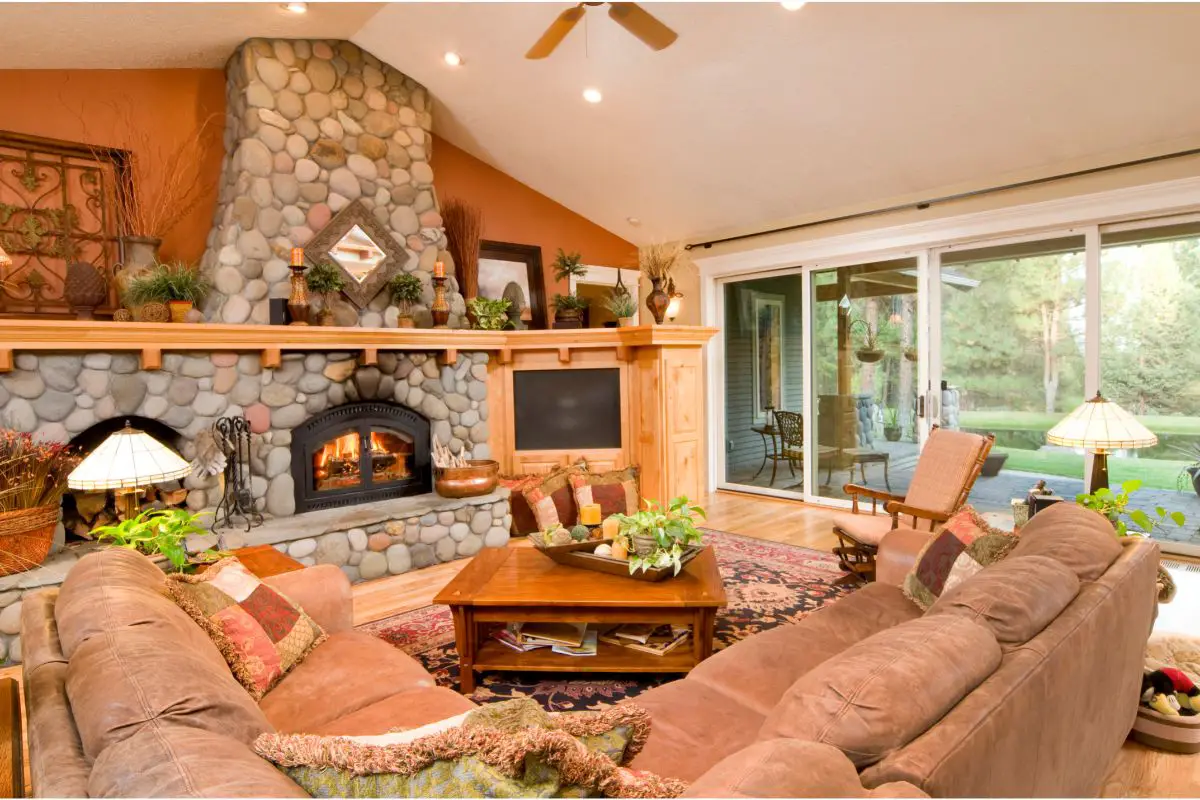
Painting a dated rock fireplace is an effective way to give the space a modern, refreshed look without having to do demolition work and start from scratch.
You can tackle this project yourself with the right tools, materials, and know-how. Here are some tips on how to paint a dated rock fireplace DIY:
Gather Materials And Tools
The process of painting a dated rock fireplace can be made much easier with the right materials and tools. Before you begin painting your fireplace, make sure you have everything you need on hand!
You’ll need paint that is specifically formulated for rock surfaces in order to prevent any damage from occurring during the painting process.
Be sure to choose a color that will fit with your desired style for the room — neutral colors such as white or taupe are best for creating a classic, timeless look.
In addition to paint, you’ll also need primer specifically designed for painted masonry surfaces, as well as sealer and/or staining products depending on your desired finish.
Make sure to purchase enough supplies so that you don’t run out in the middle of the job. If possible, try to buy extra just in case!
The tools required for painting a dated rock fireplace are important too.
Sandpaper, rags, putty knife (for smoothing mortar between stones), large paintbrush (for priming and sealant application) as well as roller covers and trays are all necessary items.
Additionally, it is helpful if you have drop cloths or painter’s tape handy so that any excess paint doesn’t get on other items or surfaces in the area.
Last but not least, make sure to wear protective clothing such as gloves and eyewear during the painting process — this will protect your skin from coming into contact with potentially hazardous chemicals from paint and other supplies.
With these materials and tools at hand, you’ll be ready to create a beautiful new look for your fireplace!
Prepare The Fireplace Surround
Preparing a fireplace surround for painting an outdated, rock fireplace can seem like a daunting task. However, with the right preparation and application techniques, it can actually be very straightforward.
Before beginning any painting project, it is important to make sure that the surface is clean and free from dust, dirt and other debris.
To do this, you should use a soft sponge and a gentle household cleaner or solvent to wipe down the surface of the rock.
Once the surface is clean, then it is recommended to fill any cracks or gaps in the rock with epoxy putty. Epoxy putty works great for hiding imperfections on irregular surfaces, such as rock fireplaces.
After allowing this layer to dry completely (which can take up to 24 hours), start sanding the entire area lightly with fine grit sandpaper.
This will help to even out any bumps or lumps on the surface of your fireplace surround that may inhibit proper paint adhesion later on.
Prime Your Fireplace Formulas
The next step is priming.
Choose an appropriate primer formula specifically designed for stone fireplaces like Giani Stonework Countertop Paint & Wood Primer Kit; it helps bonding, and you should spread evenly over slippery surfaces like mortar joints between stones.
Once you’ve selected your primer formula (a tinted primer may be necessary for bricks), carefully brush it over each individual piece of stone attached to your mantle as well as along masonry joints created by grout lines between each rock; make sure not to miss even one nook or crannie!
Let it dry overnight before continuing on to the painting step.
Paint Your Fireplace Mantel
Once you’ve primed your mantel following step 3 above, select an exterior-grade latex paint specifically designed for use in stone fireplaces at hardware stores or home centers such as Benjamin Moore Confirm 2-in-1 Joint & Crack Filler Exterior Latex Paint—Concrete Masonry Paints & Stains 1443.
Begin at the top center most point of the fireplace mantel (or whichever corner shows most prominently) so that each stroke downward has fewer chances of crossing beneath already painted sections; brushing outwardly ensures even coverage from the top downwards until the entire surface has been painted completely!
Don’t forget areas near base trim!
Allow the exterior-grade latex paint to be completely dry before layering another type of coating/sealer.
The top coat should be breathable enough to absorb moisture vapor generated during cold months–this minimizes color resistant peeling fading due to weather conditions encountered outdoors where temps fluctuate greatly within a short period of time!
Finish With A Protective Topcoat Sealant
Once you’ve completed the foundation coat drying, it’s time to apply The protective finish sealing to the exposed brick woodwork!
Depending on the finish you want to achieve, there are different types of sealants available such as matt clear satin glaze shines.
You can find these products in most DIY stores. You can ask customer service sellers who are knowledgeable in their field to help you pick the right one for your project’s needs.
Finally, let the paint dry completely before removing drop cloths and plastic sheeting. Enjoy your newly painted rock fireplace!
Advantages Of Painting A Dated Rock Fireplace
Painting a dated rock fireplace is a great way to update the look and feel of any room. It can instantly add style, warmth, and character to a space while still keeping its original charm.
Painting a rock fireplace is also a budget-friendly alternative to other renovation options, as it can be done with minimal cost and disruption.
The first advantage of painting a rock fireplace is that it helps improve the overall aesthetics of the room. By making use of color and textures, it’s possible to transform the entire look and feel of an area.
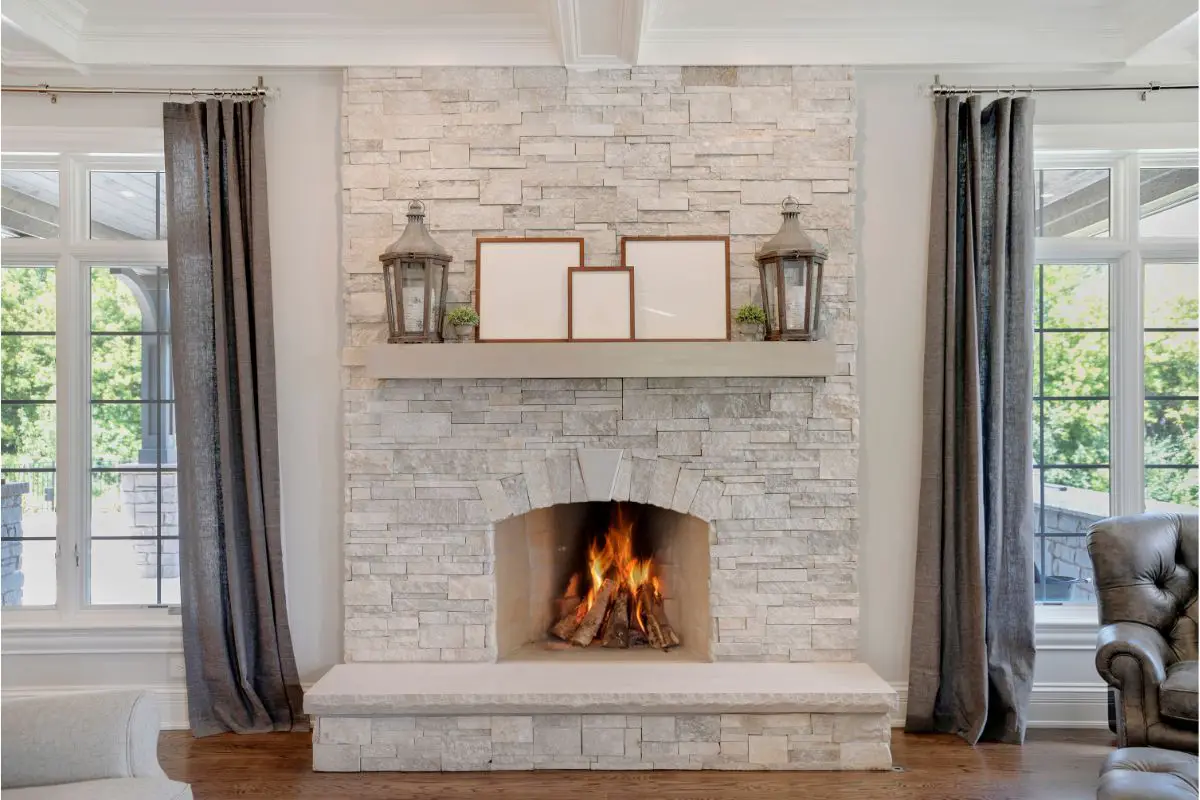
For instance, if you have an old stone fireplace in your living room, you could choose to paint it white or gray for a more modern effect.
If you want something brighter and bolder, then you could opt for bright hues such as red or yellow.
In addition to changing the color of your fireplace rocks, painting them will also create texture, which can help draw attention away from undesirable details such as gaps between stones or undulating surfaces.
The second advantage of painting a dated rock fireplace is that it allows for more customization compared to buying new tiles or stone veneers, for instance.
When applying paint to stones, you have full control over which portions are covered so that each individual stone can be painted differently if desired.
This means that you have more options when creating unique patterns in various designs, such as an abstract pattern or an arrangement of colored stones in shapes such as diamonds or circles.
Conclusion
Painting a dated rock fireplace is a great way to update the look and feel of any room. It can instantly add style, warmth, and character to a space while still keeping its original charm.
Painting a rock fireplace is also a budget-friendly alternative to other renovation options, as it can be done with minimal cost and disruption.
The advantages of painting a dated rock fireplace include improved aesthetics, more customization. So why not make this a project for the weekend?
I’m Ida Oliveira, and now I want to impart my knowledge of all things interior design onto you. If you’re going through the same process of designing your house, I want to help.
So, I hope that you’ll find everything you need to know on my website. If I make the process even a little easier and more fun for you, Alexander and Pearl will have done its job.

![ow To Design A Room Like An Interior Designer [Step By Step]](https://alexanderandpearl.co.uk/wp-content/uploads/2022/02/How-Much-Does-A-Pop-Up-Camper-Weigh-33.jpg "How To Design A Room Like An Interior Designer [Step By Step]")


")

")


