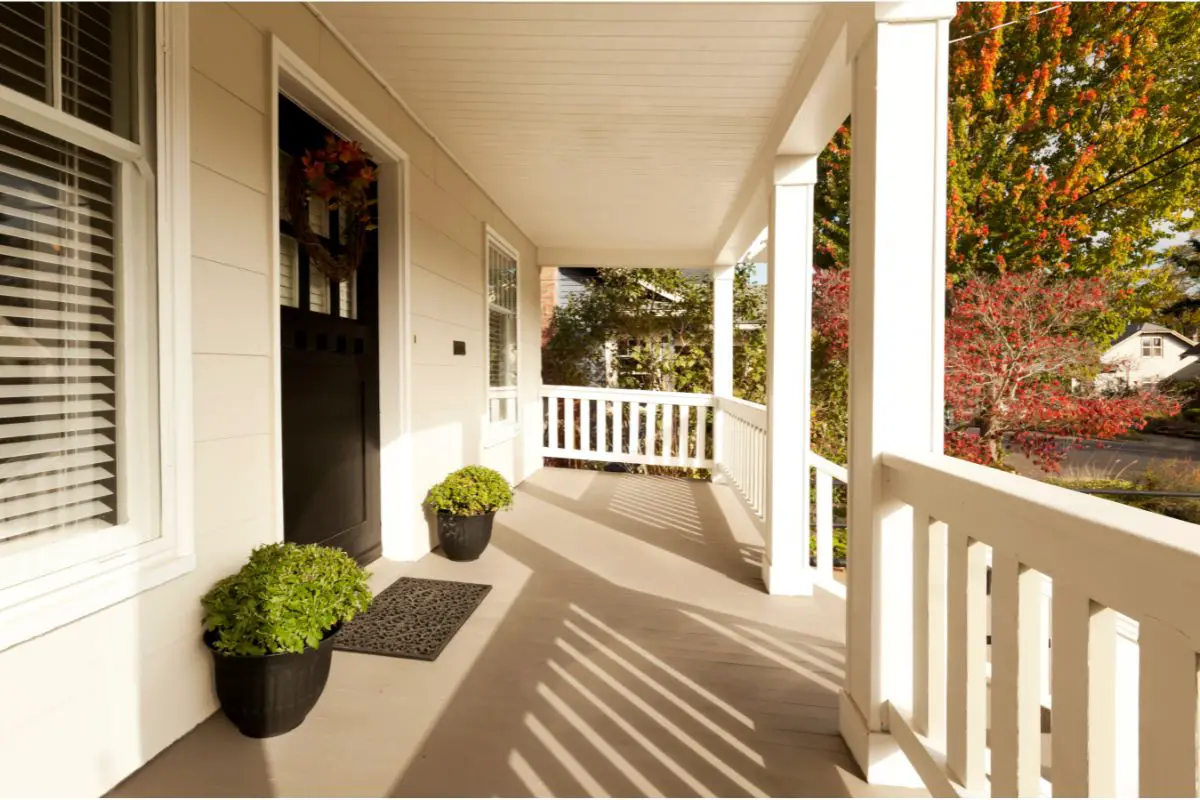
Porch column wraps are a good choice for a porch makeover because they can enhance the appearance of your home’s exterior and raise your curb appeal. It’s one of the simplest and least expensive ways to increase the value of your home.
The best part about porch column wraps is how quickly they can be taken off and replaced, whether you’ve grown bored of the colour and style or they’ve been damaged by the elements.
Without needing to replace the porch posts themselves, porch posts are a simple method to update the exterior of your house.
If you want to enhance the appearance of your home’s exterior, follow along as we walk you through the process of wrapping your front porch posts with wood.
What Is A Porch Post Wrap?
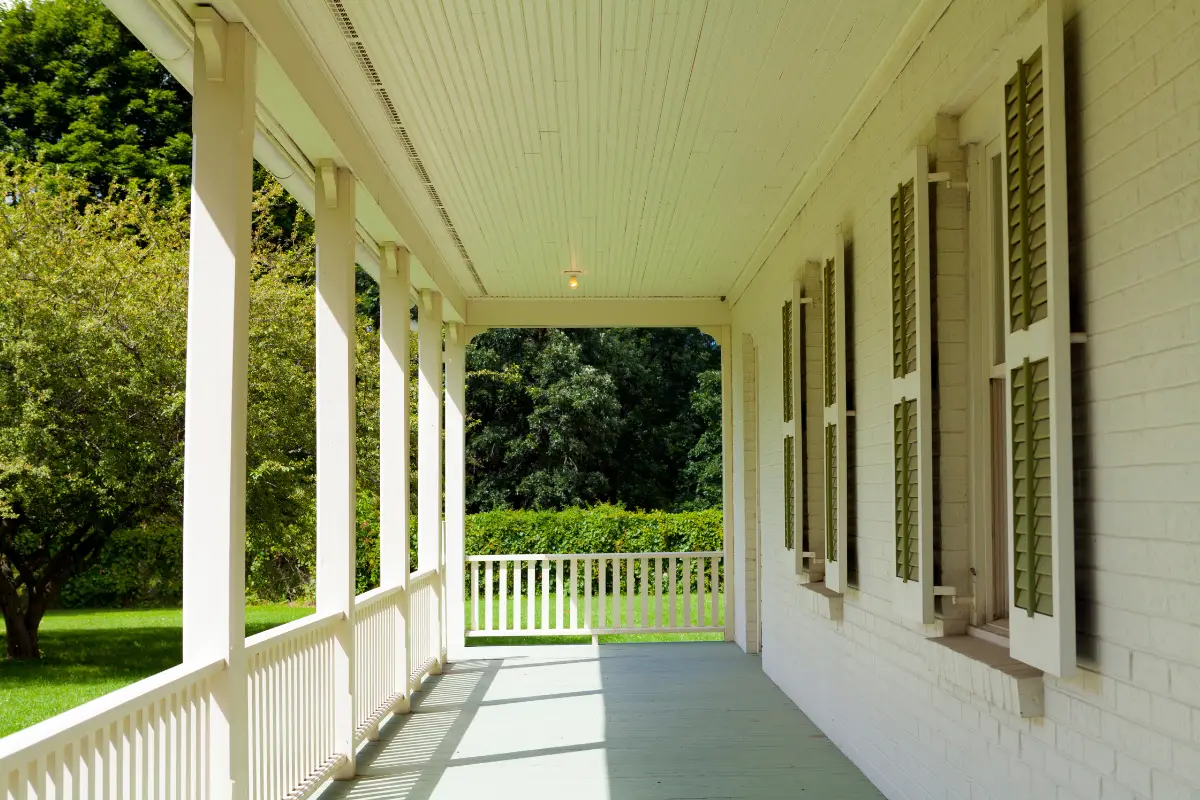
You can place porch post wraps on your front porch to enhance the appearance of your porch posts. Wraps for front porch posts are entirely decorative and not load-bearing.
They often come as pieces that are cemented together around the porch column already in place and fastened with nails and screws.
To help you achieve the outside appeal you want for your front porch, porch post covers are offered in a variety of materials and designs.
Why You Should Wrap Your Front Porch Posts?
Wrapping your front porch posts can be very beneficial. First of all, wrapping the posts can protect them from weather damage, rot, and bug infestation, prolonging the life of your porch posts and saving you money on the inevitable bill of fixing them.
Furthermore, it’s an affordable way to make your home look more appealing and boost the value of your property. It’s a simple way to effectively increase your curb appeal.
Choosing Your Wood
You must use pressure-treated lumber for any exterior DIY project involving wood that comes into contact with the ground. Ensure that the wood is not resting on the ground and that all of the seams have been properly sealed.
This refers to priming and outside paint for painted projects. Use exterior-grade heavy-duty sealant and stain for stained wood projects.
Stained Vs. Painted
Depending on the appearance you want, you can choose between smooth or rough lumber when staining the posts.
You can choose to stain your porch posts so that the rough lumber’s back side displays a variety of saw marks, which may be useful to you for your project.
Purchase wood that is primed, very smooth, and ready for finish paint if you wish to paint the posts. For this tutorial, we’ll be showing you how to create painted front porch posts.
Protecting Your Wood
Wood posts can be susceptible to weather damage, so to make sure your front porch posts are protected, make sure you take the following measures during this project:
Seal all joints, nail holes, and seams with a durable, waterproof sealant.
Keep all added wood ¼ inches off the ground.
Use pre-primed wood where you can, and add primer to any end cuts before installing.
Use high-quality exterior paint when painting the surface of your porch posts.
The bottom of the 2x3s, which act as the inside frame of the post, should be treated with wood preservative.
The main downside to using wood to wrap your front porch posts is that it can easily be damaged by things that are out of your control. By taking steps to protect your wood, you’ll be able to increase its lifespan and keep your porch posts looking their best.
What You’ll Need To Wrap Your Front Porch Posts?
Now that you have the right wood to wrap your porch posts, and know how to protect them against the elements, you can gather your supplies and get started. Here are the tools and materials you’ll need:
2x3s
Drill
Sheet siding
Galvanised nails
Galvanised wood screws
Primed trim
Miter saw
Table saw
Caulk gun
Primer
Wood preservative
Waterproof sealant
Exterior paint
Framing nailer
Brad nailer
Paintbrush
4-inch paint roller
Tape measure
How To Wrap Your Front Porch Posts
Now that you have everything you need, follow these steps to wrap your front porch posts.
1. Apply Wood Preservative
You don’t need to do this if the interior framing of the porch posts is made of pressure-treated 2x3s. If not, however, spray some wood preservative on the wood’s underside where it might come into contact with moisture.
As we previously mentioned, all of the wood you add to the porch posts needs to be lifted at least ¼ inches off the ground so it doesn’t make contact with it. If that’s not possible, then your wood will definitely need to be pressure treated.
Wear a mask because wood preservatives have a strong smell, and be ready to wait a while before handling it. It’s a fantastic tool because it effectively pressure treats the area of the wood that you spray it on.
2. Square Up Your Porch Posts
You can completely skip this step if the porch posts are already square. You can add some 2x3s going along both corners of the rear of the porch post if your porch columns have a more rectangular shape to help square things up.
Do not forget to elevate the wood a ¼ inch off the ground.
3. Create Columns
Making the bottom portion of your porch pillars larger than the top is a fantastic design choice. In our opinion, this is just decorative and looks better because it provides a little visual interest.
After drilling a few pilot holes first and using wood screws to secure them, add 2x3s to each order at the bottom of your front porch posts. To bulk out the bottom, you should be able to add two pieces to each corner.
4. Add Siding
Siding can be added by nailing it directly into the porch posts using a framing nailer and galvanised nails. To prevent ground contact, make sure the bottom has a gap of at least ¼ inch.
5. Add Trim
Add the trim to the porch posts’ corners once again using your brad nailer, making sure to hold them flat at the corners and at least ¼ inch off the ground.
It could be easier to affix a single nail to the trim board to keep it steady and then make minor modifications as you work your way down the board to ensure that each corner is flush.
Before you attach, be sure to add some primer to any exposed end cuts that don’t already have it. If you wait, it might be difficult to get the paintbrush below without covering the ground with paint or primer.
Use the end of the board with the primer facing the ground rather than a newly cut end if you’re using pre-primed boards.
6. Add Top Platform
The upper platform should be cut with 45-degree angles in the corners and attached to the bottom half using nails driven into the porch posts at an angle on the inside edge of the wood pieces.
At the corners where the 45-degree angles meet, nail them together.
7. Repeat Steps For The Top Half Of The Posts
You can proceed to the top after finishing the bottom section. The siding should now be added to all sides of the porch posts and trimmed at the corners, top, and bottom using the same method.
8. Seal The Joints, Nail Holes, And Seams
Given that this project will be completed outside, you should choose a high-quality waterproof sealant.
Cut the sealant tip at a 45-degree angle, then insert it into the caulking gun. Next, add a small amount of caulk into each nail hole and spread a thin bead of caulk over all joints and seams.
By doing this, you can be confident that the porch pillars are prepared for any severe weather that might occur in the future.
9. Prime And Paint The Posts
The last step is to apply two coats of exterior paint in the colour of your choice on the porch posts. Not only will this add colour, but it will also seal everything.
Before you start painting your front porch posts, make sure that all surfaces are primed. As you’ve mentioned before, your best option is to buy pre-primed wood for this project, but you can also use a coat of primer instead.
Other Materials You Can Use To Wrap Your Porch Posts
This tutorial is for wood-wrapped porch posts, however, there are a lot of other options you choose from. If you’re not keen on using wood for this project, you can use one of these materials to wrap your posts.
When deciding what material to use, you should consider its durability, maintenance level, and lifespan. Below, we’ve listed the advantages and disadvantages of using stone, PVC, vinyl, and fibreglass for your front porch posts.
Stone
Stone column wraps are made up of four individual pieces that fit together to form a wrap around the porch posts. You might decide to wrap just the lowest portion of the posts or the entire column with stone.
Pros
Stone is a low-maintenance material that might only need to be weeded.
It is highly durable and there’s no chance that the stone will rot.
Stone is pretty much weatherproof, so you won’t need to spend time on extra steps to protect it from the elements.
Cons
There isn’t much variety when it comes to colour and style.
Stone is a more expensive option for wrapping your porch posts than other materials.
You need to cover the entire post with stone to protect it against weather damage and dampness.
PVC
PVC is a material that is frequently used to cover existing posts on porches.
Pros
It’s a low-maintenance material that is relatively easy to clean.
PVC offers a wide range of styles that can suit the exterior decor of your home.
It’s a durable material that is resistant to rot, bug infestation, warping, and splitting.
PVC is water-resistant and can protect your posts from weather damage.
Cons
PVC can be vulnerable to sun exposure which can result in yellowing.
Vinyl
One of the most popular materials for front porch post wraps is vinyl.
Pros
Vinyls wrap are available in many styles and colours.
It is a cost-effective material when compared to other post-wrapping materials.
Vinyl is pretty low-maintenance and just needs regular cleaning to keep it looking its best.
Vinyl doesn’t expand or contract when exposed to different temperatures
Cons
If you don’t opt for high-quality vinyl, it can look unappealing on your front porch.
Vinyl porch wraps need regular painting to maintain their colour vibrancy.
It is quite susceptible to rot.
Fibreglass
When used to wrap porch posts, fibreglass is known for its ability to mimic the appearance of stone.
Pros
Fibreglass wraps are weather-resistant and much more durable than materials like wood and PVC.
Fibreglass is completely immune to bug infestation, moisture, and rot.
Cons
It can be a health hazard because you are at risk of inhaling the small fibres that it produces.
It has been known to cause serious illnesses, like lung disease.
It is carcinogenic which means that it can cause cancer.
Fibreglass is susceptible to cracking that can’t be fixed, meaning that you would have to replace the whole post.
It is difficult to join fibreglass wraps together seamlessly.
Fibreglass is a high-maintenance material, needing an extra gel coat every couple of years.
Final Thoughts
Wrapping your front porch posts is an easy DIY project with some incredible benefits.
Not only will you be able to boost your curb appeal and increase the value of your home, but you will also be able to protect your posts from weather damage, rot, and bug infestation.
With this guide, you’ll be able to create the perfect exterior for your home and wrap your front porch posts the right way.
I’m Ida Oliveira, and now I want to impart my knowledge of all things interior design onto you. If you’re going through the same process of designing your house, I want to help.
So, I hope that you’ll find everything you need to know on my website. If I make the process even a little easier and more fun for you, Alexander and Pearl will have done its job.

![ow To Design A Room Like An Interior Designer [Step By Step]](https://alexanderandpearl.co.uk/wp-content/uploads/2022/02/How-Much-Does-A-Pop-Up-Camper-Weigh-33.jpg "How To Design A Room Like An Interior Designer [Step By Step]")


")
